

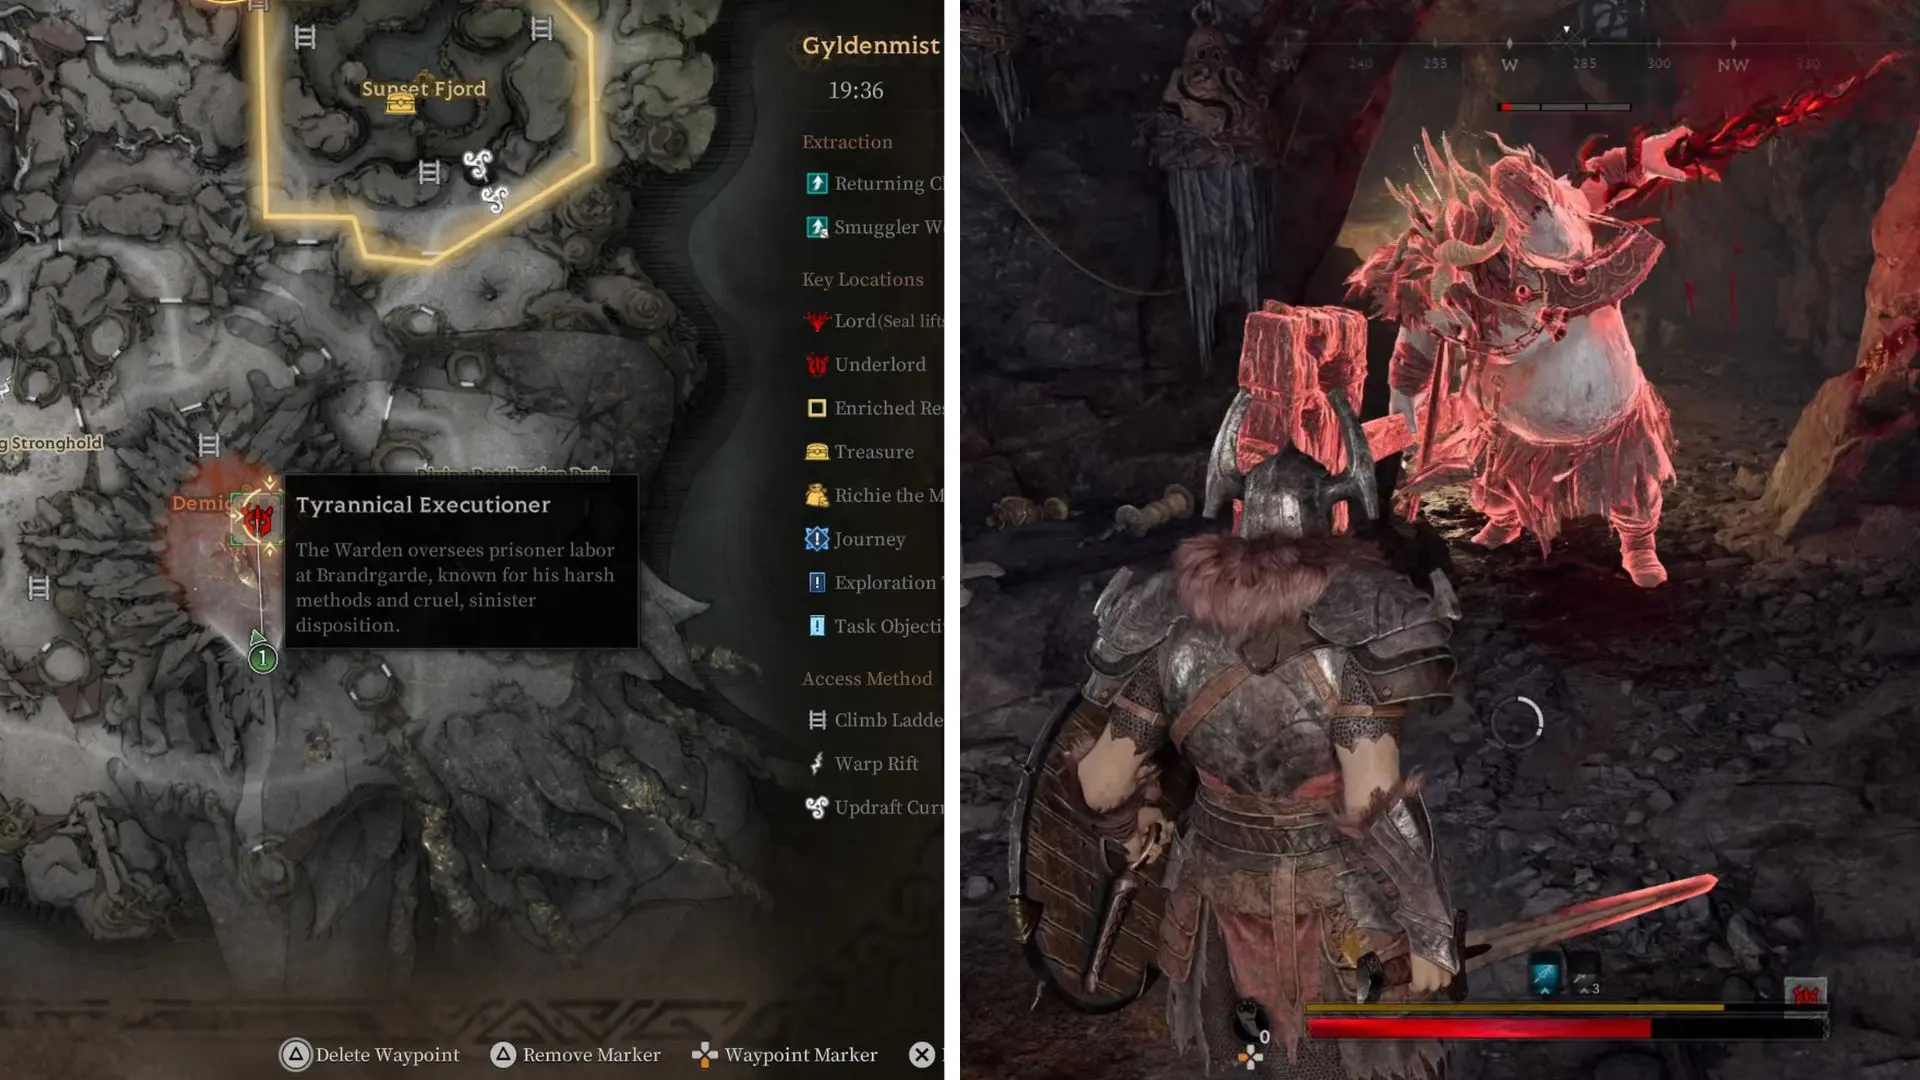
Mistfall Hunter places you up against a variety of enemies, including your fellow Gyldhunters, all too keen to steal your newfound goodies. However, it’s the Elites, Underlords, and Mist Lords that truly offer the sternest challenge.
One such Elite is the Tyrannical Executioner. A big, bulky boss monster that can be taken on regularly if you want to earn consistent rewards.
However, he won’t go down without a fight, and they have quite a few tricks up their sleeve. So, here is a quick rundown of how to beat this boss.
Where Is The Tyrannical Executioner?
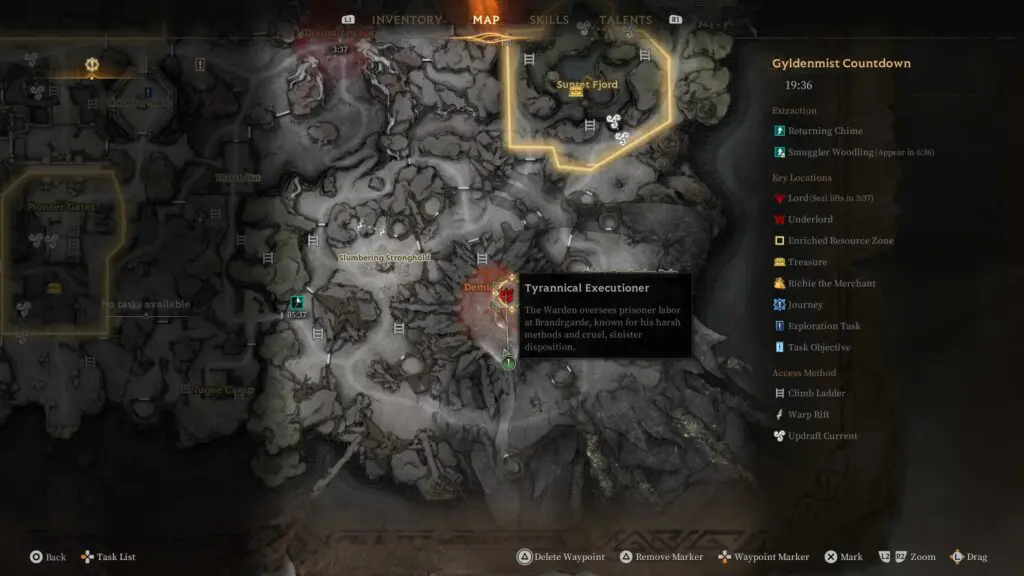
The Tyrannical Executioner is found in Hollowgarde and can pop up in one of two places. You can either find them wandering around a large open arena in the Demigod Coast. Or you’ll find them in an underground area of the Sunset Fjord.
How To Prepare
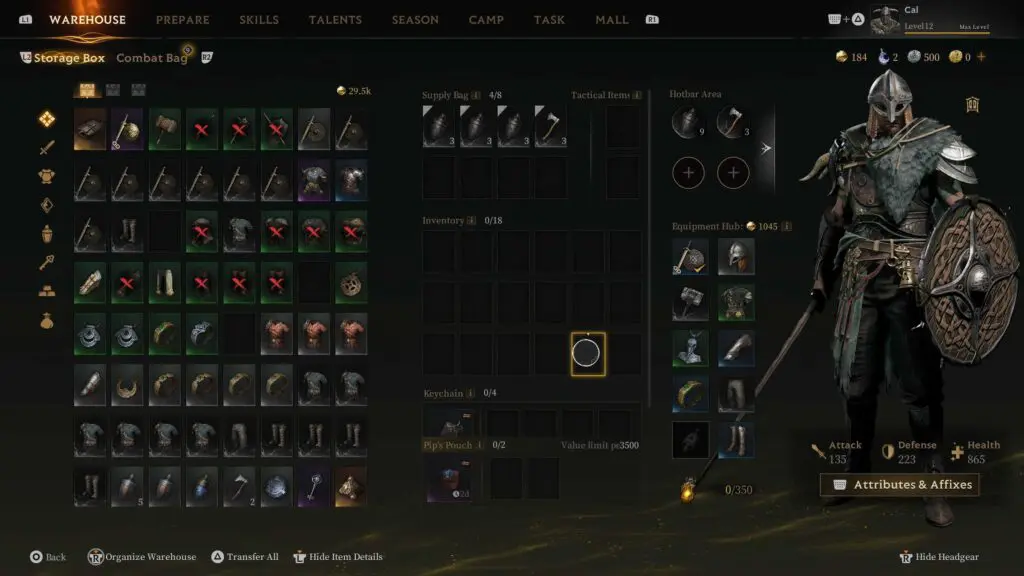
Preparation for this fight isn’t all that different from the fellow Hollowgrove elite, the Elite Berserker. But with some minor differences. Here is a breakdown of what we would suggest:
- Class: Mercenary
- Weapon: Studded Sword & Shield
- Armor: Guard/Veteran Armor Set
- Ring: Mithril Ring
- Amulet: Beak Necklace
- Essential Items: Healing Elixirs x6
- Weapon Skills: Whirling Cut + Shield Slam
We suggest you run the Mercenary Class, as this boss has a surreal ability to jump and lock to your position, no matter how much you back off. So, ranged attacks may seem like the way to go, but they aren’t all that effective.
We would also suggest equipping your best magical resistance gear, as they don’t bludgeon like the Elite Berserker. They use magic attacks to deal devastating damage.
A full green equipment set should be enough, but if you swing a blue rarity weapon for the fight, it will prove a big help.
How To Defeat The Tyrannical Executioner
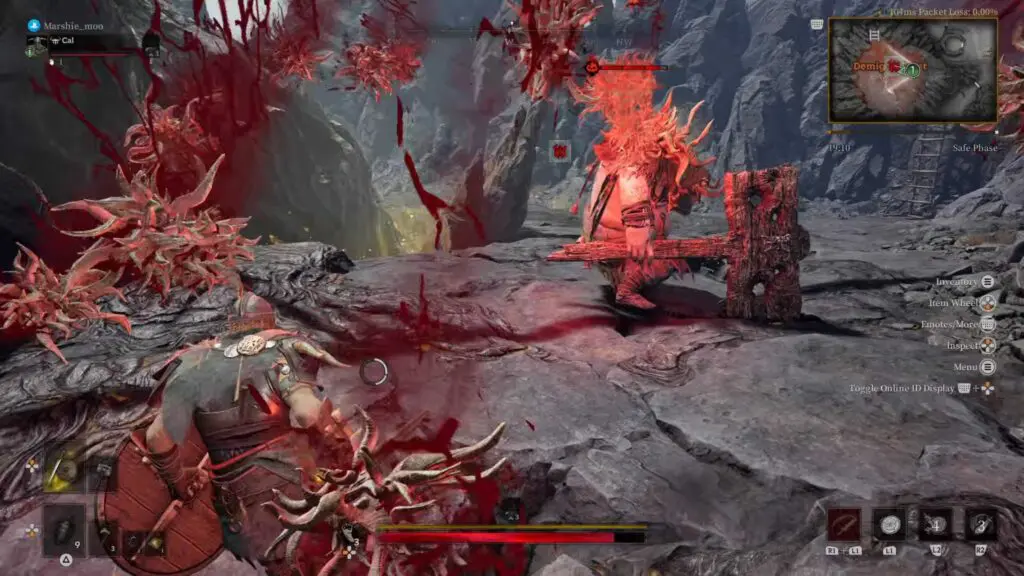
Let’s get into the fight itself. Firstly, it’s worth mentioning that it’s a much easier fight in the enclosed space of the Sunset Fjord, as the boss doesn’t cast nearly as much magic, instead relying on melee attacks which are much easier to avoid. Something to consider before committing to this fight.
Assuming the boss has access to their full moveset, they will usually open the fight with a slow hammer swing, but will follow this up with spike ball rain. Casting red spikeballs from their back, which will land on you and deal big damage.
If this occurs, back off fast. There are three waves of spikes, and they explode on the ground after impact, so don’t lunge back in after one.
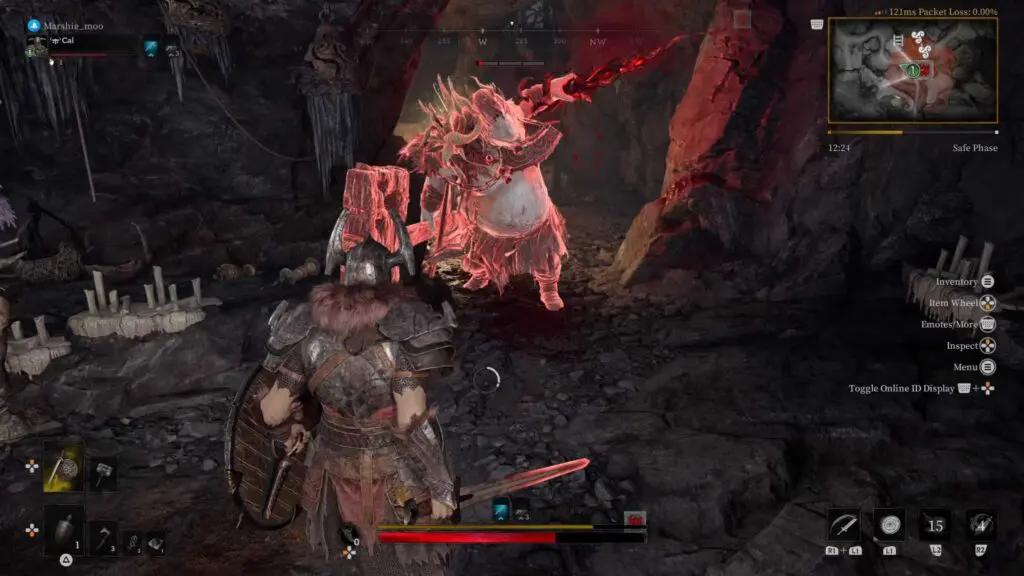
The boss will also do an attack where they fall to the ground, which will cause damage if you are right in front of them. But they also produce spikes from the ground after they fall. Again, this comes in three waves moving toward where you are, so keep moving back as this happens
When they glow red, this usually means a slam attack where they leap into the air and jump toward your position, slamming the ground, and then creating a burst of spikes after impact. It’s very hard to avoid this one as they snap to your position. So, a well-timed Shield Slam can work wonders.
Then lastly, for their bigger attacks, they may also glow red and produce a red spear in their hand, performing a two-slash attack before piercing the ground for an AOE burst. The easiest counter here is to dodge around them and get behind them.
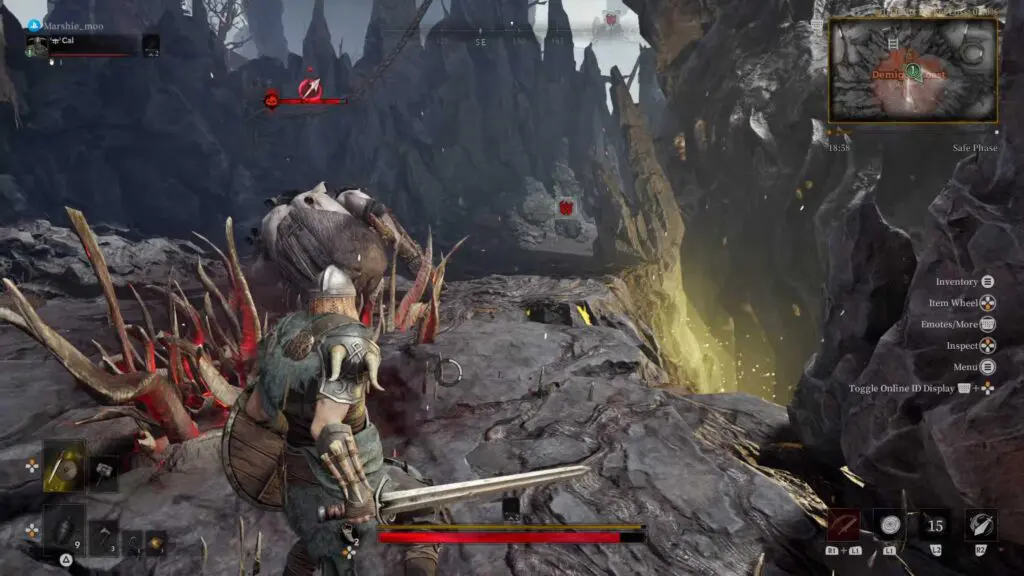
As for their basic attacks in between these haymakers. They may throw spike projectiles at you, do a spinning hammer attack, or perform a labored two-slash attack.
This is all you have to contend with here, and it can be challenging, especially if you get caught up in their spikes. The best advice is to be aggressive when they are on the back end of a large attack, and try to stagger them as much as possible.
Hopefully this helps, and the loot they drop is super rare.
